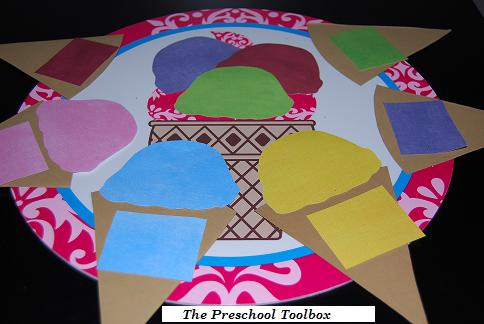
Ice Cream Cone Color Matching – Color Cone Matching
Materials needed: One Color Cone Matching pdf file (linked above) for each child or small group, a glue stick, and scissors (a permanent marker or dry erase marker can be used for the extension activities given below.)
Print the file (linked above) to heavy paper and laminate for durability. Have the children cut out the cones, scoops, and color squares (or do prior to the activity). Put one color square on each of the six cones. The scoops should be placed face down in one pile. Ask the children to draw one scoop at a time and place the scoop on top of the cone with the corresponding color square.
Extensions – There are many ways to use this file. Below are a few suggestions:
Color Words – Write color words on the individual cones. Have the children draw a scoop and place it on the cone that contains the corresponding color word.
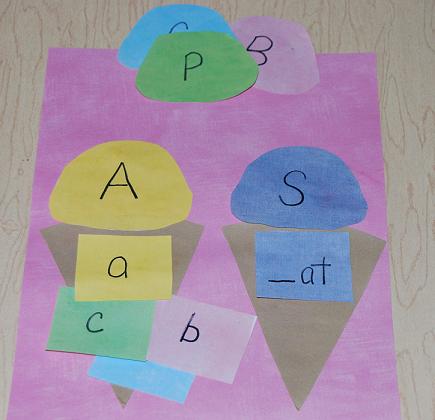
Literacy – Make several copies of the Color Cones file. Write any letter or sight word that has been introduced to the children on the color squares. Place the squares face down in a drawing pile. As the children draw a square, have them write or stamp the sight word or letter on the corresponding scoop color. The children can then place the scoop on a cone to complete their ice cream cone.
Math – Make several copies of the Color Cones file. Write any number or basic addition/subtraction problem on the color squares. Have the children write or stamp the number or answer to a basic problem on the scoops. Have the children complete their ice cream cone by placing one scoop on each of the cones.
Art – Print the Color Cones file. Have the children glue the scoops to the individual cones. The children can then tear/cut small pieces of the color squares to decorate their scoops with different colors of “sprinkles” (using the torn paper pieces.)
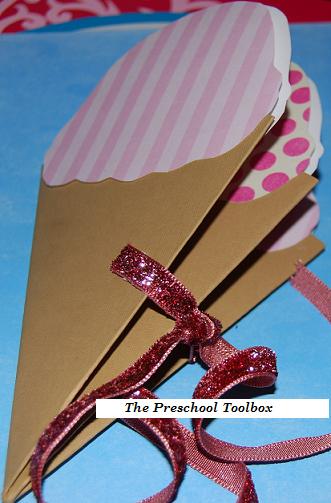
Ice Cream Cone Mini Booklets for Kids
Materials needed: One 12×12 heavyweight brown paper (per booklet), assorted scrapbook papers for the scoops (1 sheet per booklet), ribbon, and a stapler.
To make the cones for the booklet, you will need to cut a large circle from the 12×12 brown paper. We used a dinner plate for tracing our circle.
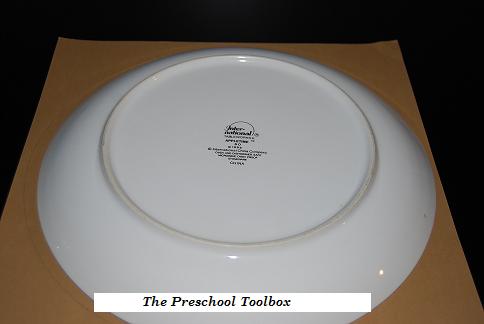
Cut out the circle from the brown paper and fold in half and then into fourths (see photo).
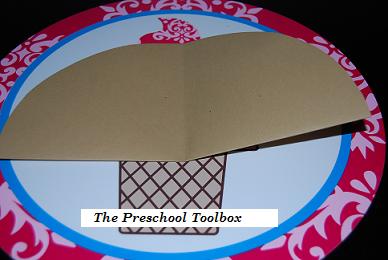
Fold the paper one last time. There will be 8 cone sections.
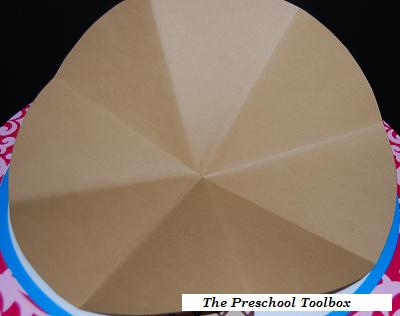
To make the booklet: Fold the cone sections as shown in the photo below. Bring the horizontal fold toward the center and then press flat.
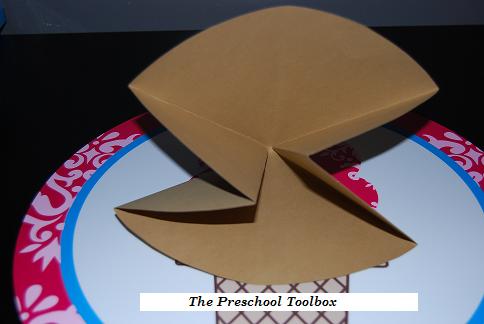
After flattening the the paper, fold again to make the sections of the cone booklet. It SOUNDS difficult, but it really is easy when you have paper in hand. Our 5-6 year old children mastered the folds after one practice try. For tips on FOLDING paper with younger children, see: Fine Motor Practice You Can Do at Home! The finished booklet looks like this (before the scoops are added).
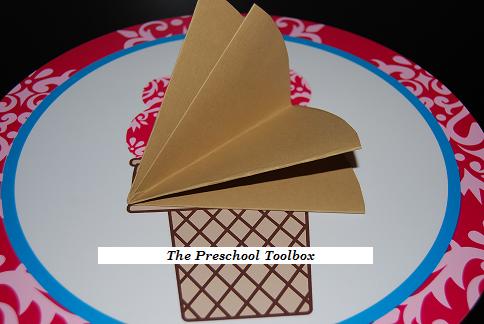
Use one of the scoops from the file linked above (COLORED CONES) as a template. Trace 8 scoops onto scrapbook paper (the children can also cut the scoops from the file to use for their booklets.) Have the children glue the scoops on the front and back sides of each cone in the booklet.
TEXTURED SENSORY BOOKLETS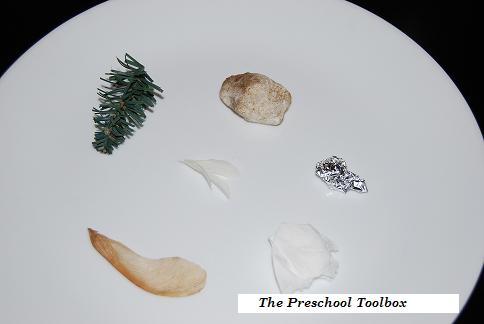
- Nature items for the Ice Cream Cone Textures Booklet
The booklets can be used in various ways: Writing Journals, Math and Literacy Booklets, Gifts, or simply as an Art Project. We used our booklets for a TEXTURED SENSORY BOOKLET. We gathered items from outside and used poster putty to attach the different items to each side of the cone. Some of the different textures we looked for: SOFT, PRICKLY, ROUGH, SMOOTH, BUMPY, and SHINY. If desired, the children can staple ribbon pieces to the front and back cones and practice tying skills!
We hope your kids enjoy learning and playing with an ICE CREAM THEME! For more fun ideas see our Preschool and Kindergarten Themes for Active Learning and Play!