Are YOUR preschoolers looking forward to SUMMERTIME? With the warmer days, children anticipate all the wonders and joys that summertime offers! Going to the beach, eating ice cream, playing outside, and making bubbles are just a FEW of the fun-filled summer activities that our preschoolers look forward to. We hope the suggestions below will allow parents, teachers, caregivers, and kids to spend some creative and FUN time together!
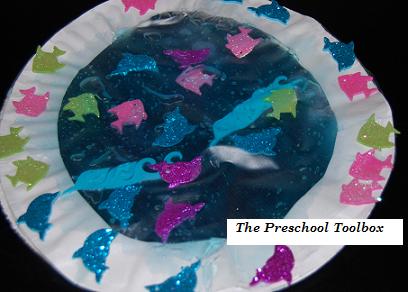
SQUISHY PAPER PLATE AQUARIUMS
Materials needed (per child): 2 Paper Plates, a Stapler, Craft Foam Fish or Ocean Foam Stickers, Blue Hair Gel, Gallon Zippered Bags, an old T-Shirt (or paint smock) to protect clothing.
Prior to the activity (adult only): Use a bowl to trace a large circle onto each of the paper plates. Cut the circles out so that each of the plates has a large opening in the center.
Give each of the children a gallon size bag and have them transfer the blue hair gel (resembling water) to the bags (*we tried using spoons to transfer the gel, but it was difficult for the children to hold the bag open AND transfer the gel – what DID work was to fill a separate gallon bag with hair gel and push into one corner. We snipped the corner of the bag and let the children “pipe” the gel into their bags (frosting bag style).
After the gel is “piped” into the individual plastic bags, let the children add foam stickers or cut-outs. Close the bag and make sure the zipper is completely closed (for extra protection from gel leaks, we placed duct tape over the zippered closure on the bags.)
Place the gallon bags inside of the two paper plates and assist the children in stapling around the outside edges of the paper plates (the gels bags will have to be tucked under the paper plate rim and stapled together with the paper plates.) The children can then use any left-over stickers to decorate the outside of the aquariums. As the children squeeze the bags, the fish change places. It is a FUN sensory experience for children (and adults!).

A HUNT FOR NON-TRADITIONAL BUBBLE MAKING TOOLS
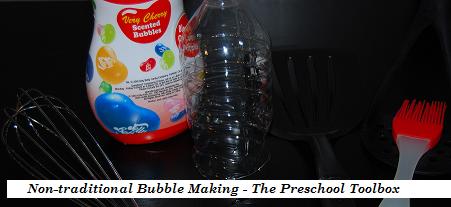
Materials needed: Commercial or homemade bubble solution and a variety of household or classroom items.
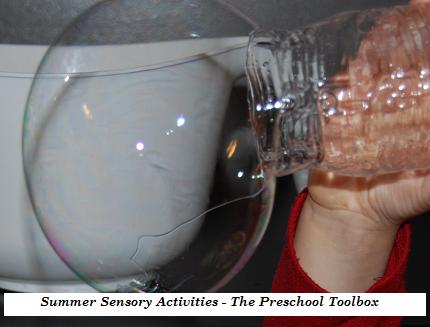
We set out to discover what items we could find in our classroom (or in the house) that would make bubbles. It was fun to watch the children THINK about the project and look for items that could potentially be used to MAKE BUBBLES. Some of the items we gathered were: a pastry brush, a spatula, a plastic water bottle, a wire whisk, and a potato masher.

It was interesting to try the different items to see which ones would successfully make bubbles. We cut the water bottle in half and it was, BY FAR, the best bubble maker of them all! The spatula and potato masher worked well, especially when we ran fast and waved them in the air. The pastry brush and whisk were bad for bubble making!:) What items can YOUR children find that they could experiment making bubbles with?

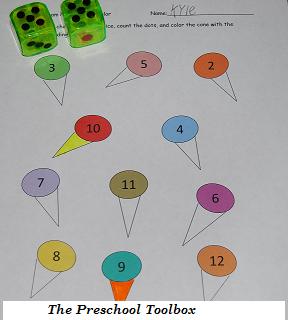
ICE CREAM CONE MATH ACTIVITY – Ice Cream Cone Roll and Color
Print the file (linked above) for each of your children. Have the children roll two dice, count the dots on the dice, and then color the cone with the corresponding number! The children could also use the file as a “count and cover” activity and place counters over the “scoop” when the corresponding number is rolled.
For more FREE RESOURCES AND ACTIVITIES for a Summer, Ocean, or Beach Theme, visit us on Squidoo!
We now have the complete Ocean Thematic Unit for Preschool and Kindergarten available on this blog!