 Halloween Math Ideas for Preschool and Kindergarten
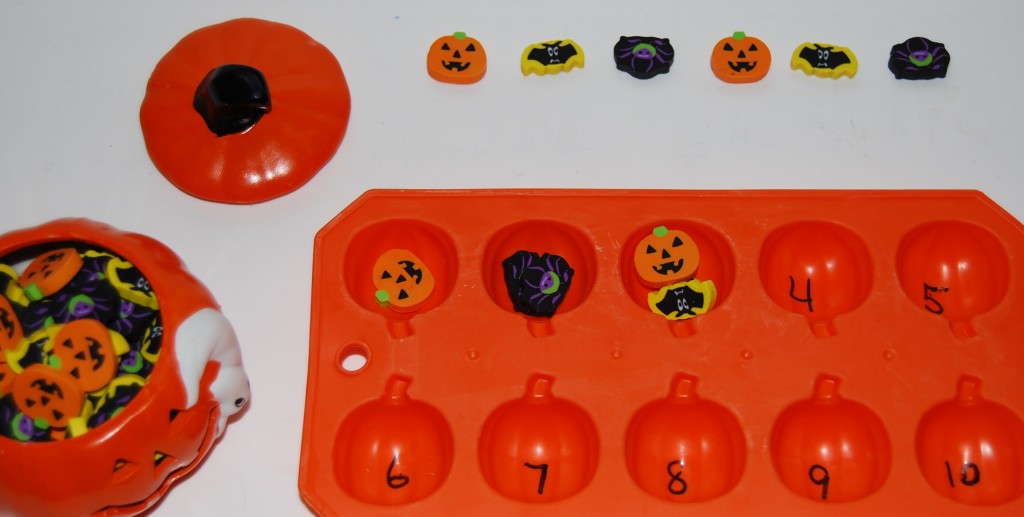
Materials needed: Miniature Halloween erasers and an ice cube tray (it doesn’t have to be a Halloween one, but it makes the games more “festive.”) Local craft and dollar stores usually carry similar items.
Number the bottom of the ice cube tray with the numbers 1-10. The erasers are very small and can be transferred from the container to the tray with fingers, tweezers, spoons, etc. Change the transfer utensil to keep the children interested in the game. For younger children, ask them to count out loud as they transfer the erasers. For older children, write the numbers 10-20 on index cards. Have the children shuffle the cards and place, number side down, on the floor or table. The children will take turns turning over a card and counting out that number of miniature erasers. The game is over when all ten cards have been used or the children lose interest.
Additional use for erasers: Have the children create patterns with the erasers. You can print the blank pattern strips here or have the children lay them out on a table. For very young children, start a simple AB pattern for them and see if they can extend the pattern. You might also complete one entire line of the blank pattern strips and see if the children can copy the pattern to their own blank strips. Blank Pattern Strips
 Halloween Sensory Sorting Bins
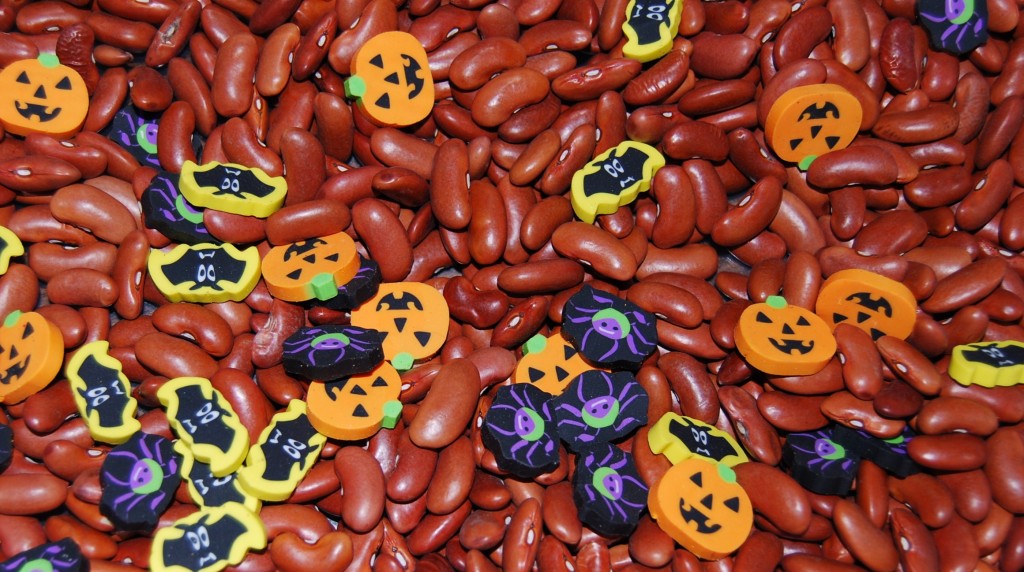
Materials needed: Beans (we used kidney beans, but any variety will work; other suggestions might be: rice, pulled cotton for a “web” effect, moon sand, or moon dough), and miniature erasers
Put the beans (or other desired material) in the bottom of a plastic bin or sand table. Stir the miniature erasers around and bury some of them. Set out 3 containers so that the children might sort the erasers as they find them: 1) bats 2) spiders and 3) pumpkins (or other characters in the eraser set). The children can use tweezers to pick up the erasers, small tongs, spoons, plastic forks, measuring spoons, etc. After the children have sorted the erasers into the 3 bowls, let the kids count each bowl to see how many of each kind of eraser was found.
 Koolaid Flavored Pumpkin Seeds
Our kids didn’t care for regular pumpkin seeds last year so we tried something different last week. We put 1/2 a package of orange Koolaid into a zippered qt. size bag and added just enough water to make a liquid – approx. 3 tablespoons. We then let the kids gently squeeze the bags to distribute the color among the seeds. The Koolaid worked much better and faster than regular food coloring/alcohol (plus they are EDIBLE.) After coloring the seeds, we strained them to get rid of excess Koolaid and put the seeds on a foil lined baking sheet. Blot the seeds dry with a paper towel and bake in a 375 oven for 15 minutes – turning once. The seeds can be left overnight to dry also, but the oven gave the seeds a crunchy/slightly sweet taste and the kids loved them. Next time, we are going to try GRAPE Koolaid for our pumpkin seeds.
For more ideas for Halloween, see the Fall Thematic Unit or for other fun activities see Preschool and Kindergarten Themes for Active Learning and Play!