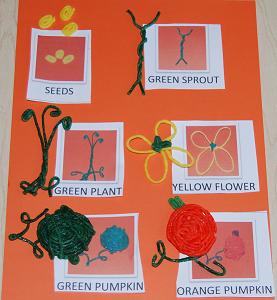
As Fall approaches, the season offers great opportunities for playing and learning! Creating the Pumpkin Life Cycle crafts below are a wonderful way to incorporate science, literacy (Letter P and Sequencing), and fine motor skills into your fall lesson plans.
PUMPKIN LIFE CYCLE – Pumpkin Life Cycle Sequencing Card
Print the sequencing cards (linked above) to heavy paper and laminate for durability. Cut the six cards apart. Discuss the pumpkin’s life cycle with the children: 1) seeds are planted, 2) a sprout forms, 3) the pumpkin plant/vine grows, 4) the pumpkin plant flowers, 5) a green pumpkin grows, and 6) the green pumpkin turns orange when the pumpkin is ripe.
Have the children place the cards in sequential order to form the life cycle of a pumpkin.
Creating the Pumpkin Life Cycle
Our kids used Wikki Stix to create each part of the pumpkin’s life cycle (see photo above). Younger children may wish to copy the image on the sequencing cards. Older children may wish to craft independently. Using Wikki Stix is not only great fine motor work for tiny fingers, but it will help children retain the information for a longer period of time!
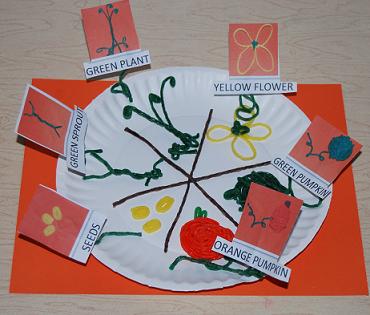
Paper Plate Pumpkin Life Cycle Craft
Have the children create a pumpkin life cycle paper plate craft from the Wikki Stix crafts above. The paper plate can be made into six sections with 3 strands of Wikki Stix. Have the children start with the seeds in the lower left corner and sequence their crafts around the plate from seeds to the orange pumpkin. The life cycle cards (linked above) can then be used to label each section.
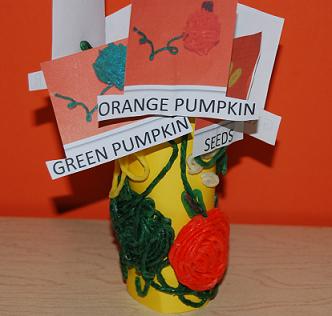
Cardboard Tube Pumpkin Life Cycle Craft
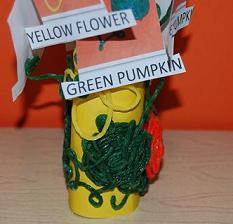
The children can also use the Wikki Stix life cycle creations to make a cardboard tube circular craft. The Wikki Stix will adhere to the cardboard tubes (*Note – we covered our tubes with yellow paper before designing our life cycle crafts – Wikki Stix will adhere to the tubes without additional coverings, if desired). Have the children begin with the seeds and place their life cycle creations around the tube in sequential order. The life cycle cards can then be placed on top of the individual crafts for labeling.
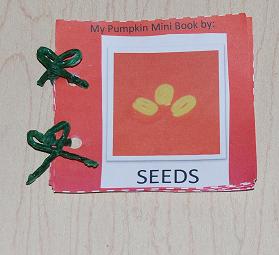
Pumpkin Life Cycle Mini Booklets – Pumpkin Life Cycle Mini Booklet
To make the mini booklets – print the background page (linked above), laminate for durability, and cut out each of the six squares. Have the children glue one of the sequencing cards (linked at the top of this post) on each background square to form the pumpkin’s life cycle. The pages can then be hole-punched and bound to form the mini booklet.
We hope your children enjoy learning and creating the Pumpkin Life Cycle as much as our kids did!