 The WADDLE Sight Words Game – Turkey Sight Words Waddle Game
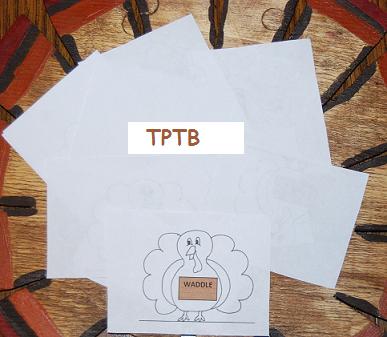
Materials needed: One sight words pdf from the link above for each small group (laminate the cards for durability), and scissors. If the children wish to color the turkeys, have them color before laminating (clear contact paper will work for laminating if you do not have access to supplies.)
Print the sight words on heavy paper and laminate. Have the children cut out each of the turkeys (assist younger children with scissors skills.) To play the game: place all the turkey sight word cards face down on a table or the floor. One child draws a card and attempts to read the sight word (for younger children, have them say the BEGINNING LETTER on the sight word cards.) If the word is read correctly (or the beginning letter identified), the child keeps the card. Play continues until a child draws a WADDLE card. If the WADDLE card is drawn, that player must put all the cards back on the table or the floor.
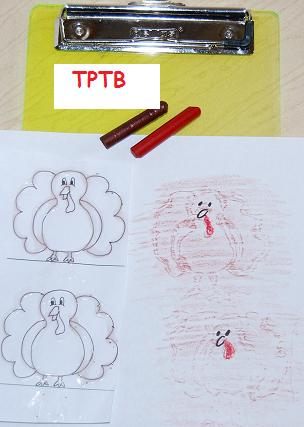
There are blank box turkeys for any additional sight words your children may be working on. There are also extra turkeys on the last page that can be used for numbers, basic addition or subtraction skills, lower/uppercase letters, or for making Turkey Art Rubbing Plates – print the turkeys on heavy paper and outline the turkeys generously with liquid glue and let dry overnight. The children can then use turkeys as homemade rubbing plates.

CARDBOARD TUBE PILGRIMS – Cardboard Tube Pilgrims Template
 Materials needed: One empty cardboard tube (if using paper towel tubes, cut in 1/2), template above, scissors, tape, and a yellow crayon/marker.
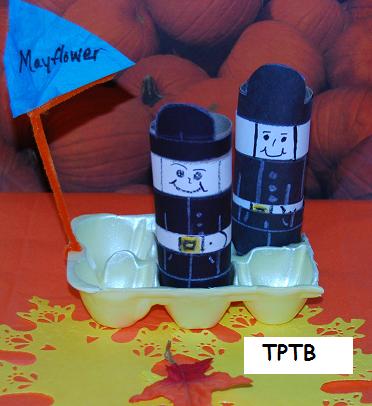
To make the Pilgrims cut each of the black pieces apart. Follow the photo for proper placement and tape the ends together in back of the cardboard tube. Older children can cut the black pieces apart, but younger children will need assistance. It helps to print the picture and display before starting the project. The 1/2 circle piece makes the Pilgrim’s hat and goes on first. Next, cut the white strip with the face and tape below the Pilgrim’s hat. Under the white “face” strip, tape on the strip with the 3 buttons (pilgrim’s jacket). Below the pilgrim’s jacket strip, tape the bottom of the jacket. The last black strip should be taped below the pilgrim’s jacket and around the bottom of the cardboard tube.
The children can color the buckles or face as they wish. We put flags on 1/2 of an empty egg carton and let the kids play with the pilgrims and the “Mayflower” boats. So simple, but it was one of the most requested Thanksgiving activities we’ve done. The kids loved putting the Pilgrims in the boats, playing with them on the floor or tables, and making up Thanksgiving stories to retell with their pilgrims. Please excuse the “primitive” file, but we had fun and thought we’d share with you:).
TOTEM POLES – Totem Pole Designs

Materials needed: Copies of the Totem Pole Designs.pdf (linked above), crayons or markers, empty baby formula or coffee cans, tape, and scissors.
Print copies of the totem pole designs and have the children color. Tape the designs on empty formula or coffee cans and stack on top of each other. We used “wood” look contact paper for the top can on our totem poles and cut out designs from the file to make a “face.” Older children can even have fun creating color schemes for their own totem poles.
*The designs in the pdf file above were, one of many, given to me by my grandfather many years ago. We know that he visited Cahokia Mounds in Illinois several times. The mounds in Illinois show settlement and farming as early as 7000 B.C. I have searched for the origins as they are intricate enough to possibly belong to specific tribe(s). If any of you have information regarding the origin of the design, please leave a comment below and let us know!
For more Thanksgiving Theme ideas for Preschool and Kindergarten, please visit The Preschool Toolbox!