 Thumbprint Pumpkin Patch – Thumbprint Pumpkin Patch “Vine” Designs
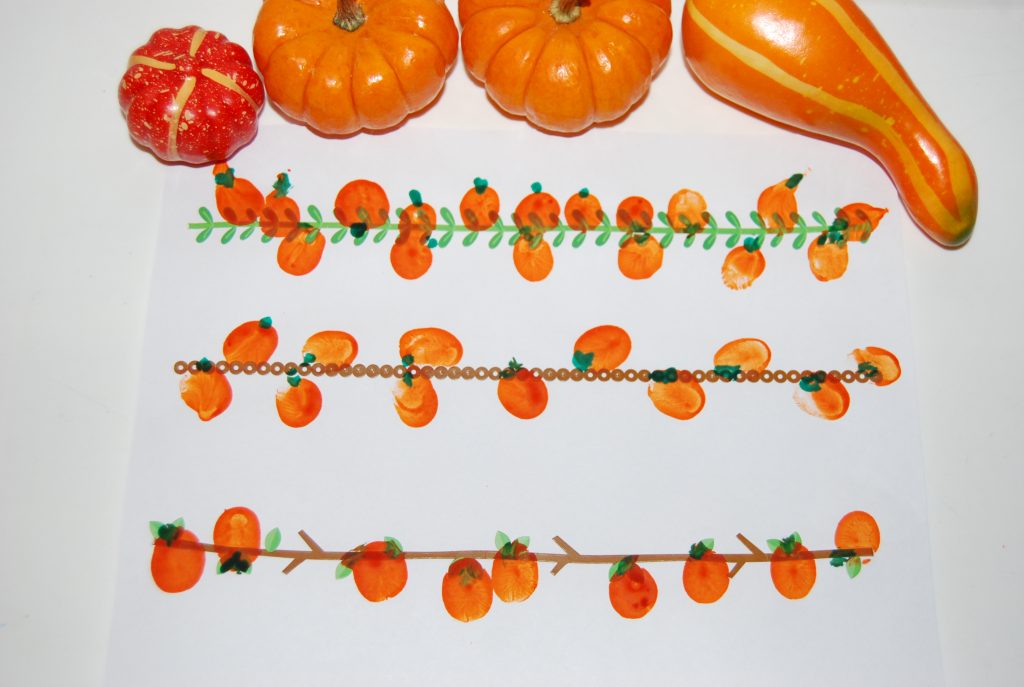
Materials needed: One Thumbprint Pumpkin Patch Vine work page from the file above, orange and green tempera paint, paint brushes or q-tips, paint trays, and paint smocks or old t-shirts.
Print the vine design file for each of the children. Have the children thumb print orange painted pumpkins on top of or below the vine line. The children can use q-tips or paint brushes to make a green stem on the pumpkins, if desired.
Extension Activity – Print the Math work pages here: Pumpkin Vine Numbers Have the children make thumbprint pumpkins along the vines (above or below) that correspond with the numbers in each of the boxes. There are two blank boxes, on pg. 2 of this file, to fill in larger numbers that the children may be working on. For addition: Have the children roll 1 die and add the number in the box to the number on the die. The children will thumbprint that number of pumpkins on the vine. For subtraction: Have the children roll 2 dice and subtract the number in the box. The children will thumbprint that number of pumpkins on the vine.
 Hand Print Jack-O-Lanterns – Circle Template for Handprint Pumpkins
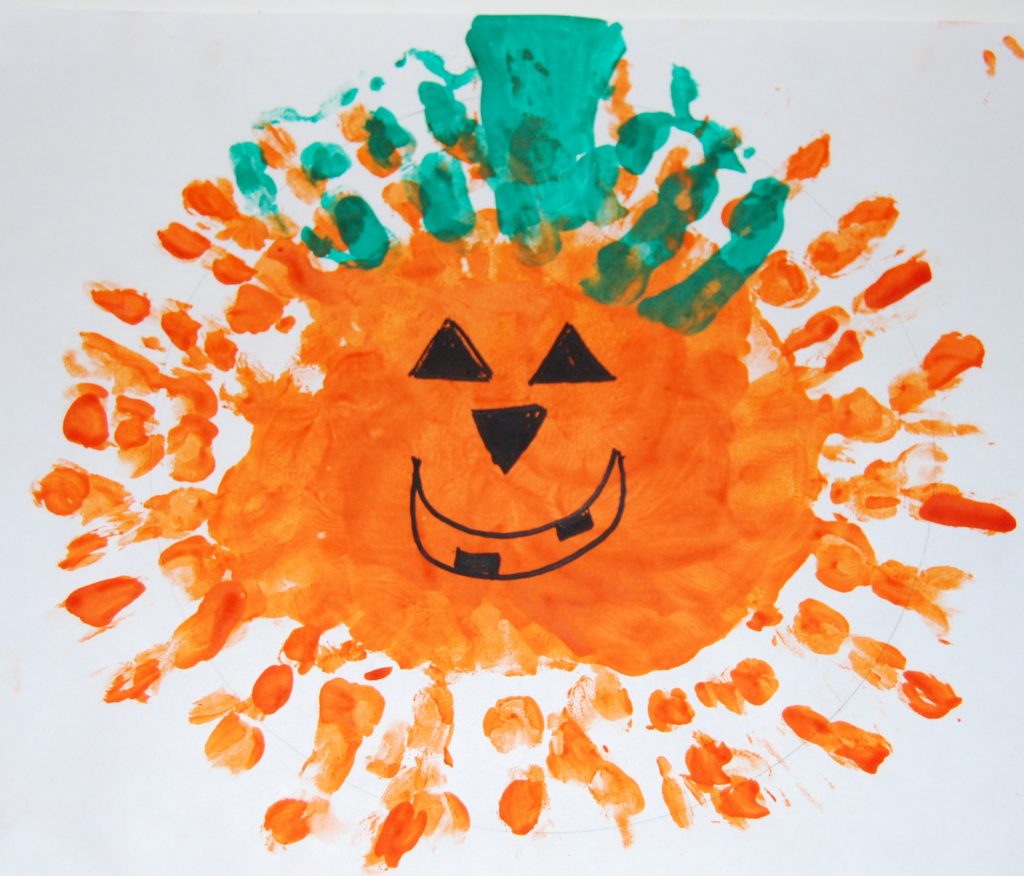
Materials needed: One Circle Template from the file above, orange and green tempera paint, large paint trays (or plates), paint smocks, and black markers.
Have the children paint hand prints from the middle of the circle outward. Younger children will need assistance turning the paper. For very young children, use a paintbrush and paint the palms of their hands with the brush before they make the hand prints. It helps them make an actual “print” and not hand “globs” (after printing, allow toddlers to make hand globs!) Let the orange hand prints dry and then add green hand prints/stem to the top of the jack-o-lantern. When the painted hand prints are all dry, let the children use a black marker to make facial features on their pumpkin.

Witches Hats
Materials needed: Chocolate Bark or Decorator’s Chocolate, Sugar Cones (one per student), assorted fruits.
Melt the chocolate according to the package directions. Have the children gently roll the sugar cones in the chocolate (the children can also use craft sticks and “spread” the chocolate on the cones.) Let the cones dry (stand them up as in the picture) on waxed paper. While the cones are drying, let the children use craft sticks or plastic knives to cut up fruits. We used bananas, strawberries, and raspberries, but any fruit the children like would be good. When the “witches hats” are dry, have the children gently peel the cones from the waxed paper and fill with assorted fruit for a snack.
Still looking for MORE Fall lesson plans, see our Fall Theme Activities (Trees and Leaves, Pumpkins and Jack-0-lanterns, and Halloween combined) at The Preschool Toolbox Blog!